Introduction of Non-intrusive Pig Signaler
Product Components
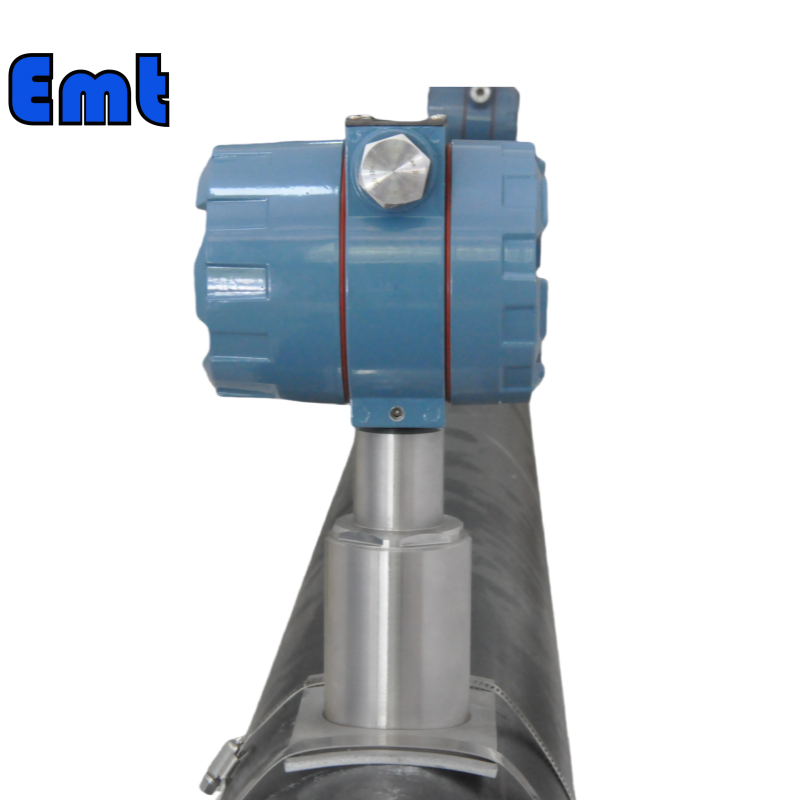
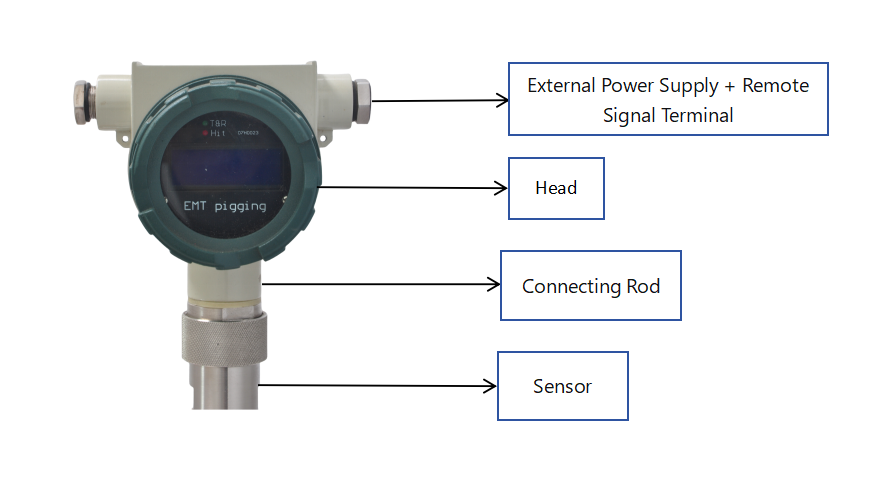
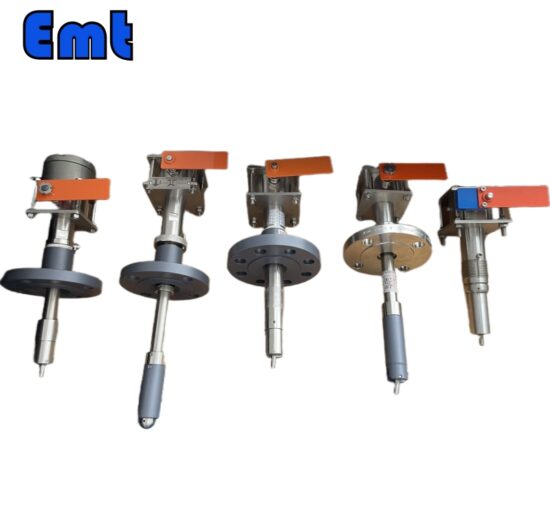
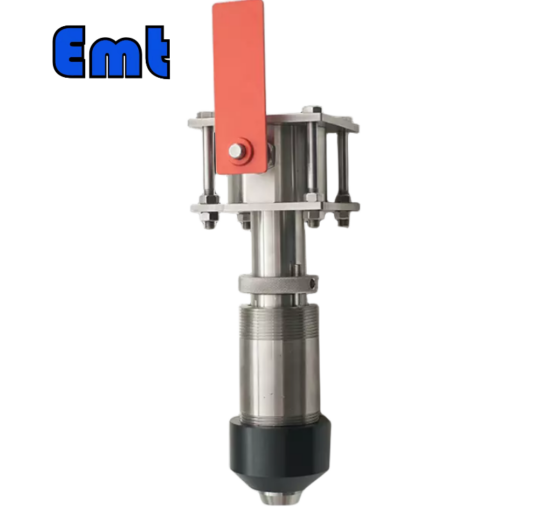
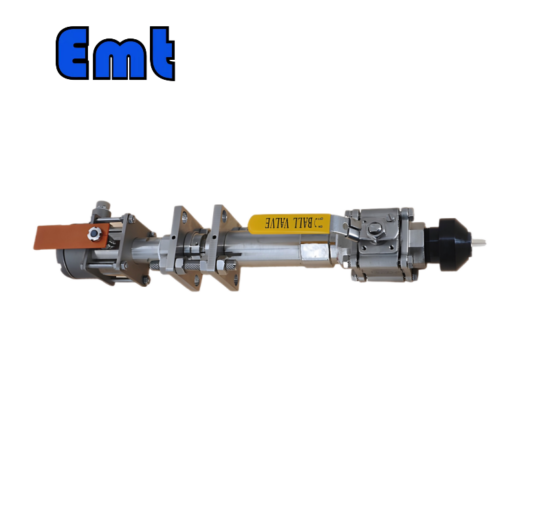
EMT Non-intrusive Pig Signaler consists of the following components:
Explosion-proof remote transmission mechanism TZS(LCD with heating function, record passing time, store record 99 times, remote transmission, explosion-proof Exd II CT6 Gb, and protection level IP65)
Sensing mechanism YY-FCT( It is composed of different directional reluctance circuits, balanced amplifier circuits, low-pass filter circuits, trigger circuits, CPU, etc., supporting remote switching circuits, display circuits, and reset circuits. It is equipped with a remote switching circuit, a display circuit, and a reset circuit.)
Dismountable clamp mounting mechanism
Connecting wire
Extension rod(usually underground pipes need it)
Using Features of Non-intrusive Pig Signaler
During the working period, when a pig with magnetic passes, the product will show its passing time. Then it will transmit a remote switch signal to the control center to know the pigs’ passing condition. The display mechanism simultaneously stores and remembers the passing times and time. Memory times: 99 times.
مشخصات فنی
Applicable temperature: -39.8°C / 80°C
Applicable humidity: 41%~83%
Detection direction: bi-direction
Sensor type: Magnetic induction
Signal switch type: SPDT
Detection accuracy: ±2s
Passing speed range of pigs: 0.2-10M/s
Switching capacity: 2A
Reset type: automatic reset
Cable connector type: M20*1.5、1/2NPT F
Explosion-proof: Exd IICT6 Gb
Protection level: IP65
Integral structure of the non-intrusive pig signaler
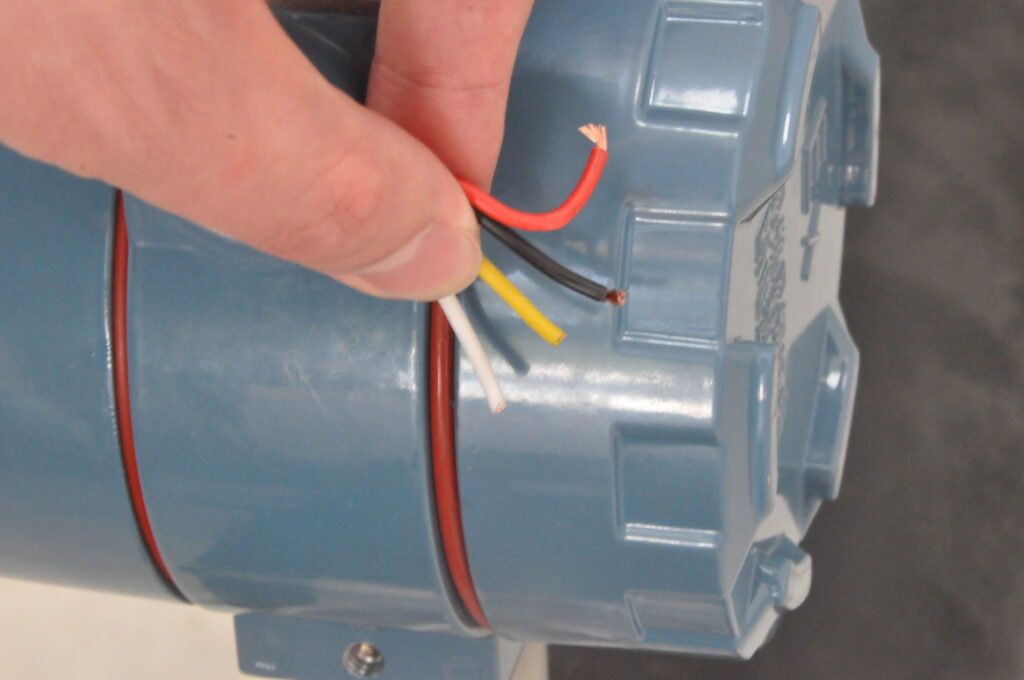
Connection: Facing the right side of the screen is the wiring interface. The black one and the red one are power cables. They can connect to 6-24V DC power. Pay attention to the switch of internal and external power supply modes. The other 2 wires are remote signal wiring interfaces. The white wire is the public end and the white wire is normally open. (It is measured open by an electric meter. Generally, signal wires are only connected to open and public end.) The size of the power connection interface and remote connection interface are M20*1.5 or 1/2NPT. It has a 3/4NPTF internal connector’s converter connector.
Usage Method of Non-intrusive Pig Signaler
نصب
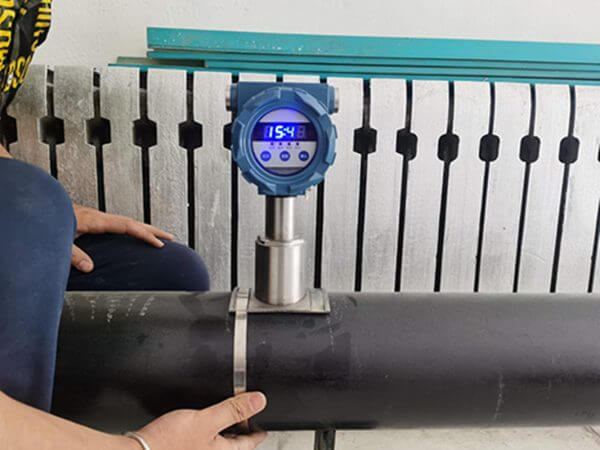
Fix the pig signaler to the pipe first.
Pipe clamp mounting mechanism usage method: according to the pipe specifications, choose the clamp mounting mechanism. Then fix it in an appropriate location. Special note: for pipes with a thermal insulating layer, the sensor mechanism should be affixed to the metal pipe wall during installation. Thermal insulation should be carried out after installation.
Start Monitor Mode
After the power supply is installed and selected through the jumper cap, the meter starts to run. It will display the current time and then proceed to the calibration procedure. The initial threshold is automatically detected, and then the monitoring mode is activated to enter the pig monitoring state (to ensure operation, the detection function is run once by pressing the button before each monitoring).
Function Description of Non-intrusive Pig Signaler
This non-intrusive Pig Signaler instrument provides 3 buttons: the select button, the adjust button, and the confirm button, and operates 4 functions: the detection function, query function, zero function, and time adjustment function.
Detection function
Objective To ensure that the battery power supply is normal and the threshold meets the local conditions. The factory has been set and tested before leaving the factory. Due to the difference in use environments, to ensure the accuracy of monitoring, the instrument provides a detection function.
The method of use is as follows: press the select key, then the detection function light will light up (if you press the select key continuously, the four function lights will light up in turn, and then press the select key, the light will go out, and the instrument will enter the monitoring state of the pig at this time). At this time, press the confirm key, and the instrument will automatically enter the detection state. A digital tube displays instrument thresholds and setpoints. Then press the Confirm button to exit the detection function, and press the select button again to turn off the function light. The instrument then goes into the pig to monitor the status. If the function light is on and it is not turned off by the select key, the system operates for 3 seconds without any key. Then automatically extinguish the function light and enter the pig monitoring state.
Query function
Press the select key continuously to select the query function. Then press the Confirm key and the digital tube will display the number of passes the meter has stored. After pressing the Confirm key, you can check the time of the last pig pass. If the meter has no record, the nixie tube has no display. By pressing the Adjust key, select down to query the time of that pass. To exit the query function, press the adjustment key continuously. This causes the number of times it is displayed to be zero, and then you can exit the query function. In this case, you can press the button to select other functions or exit to enter the monitoring state. You can also automatically enter the monitoring state after 3 seconds.
Clear function
The instrument automatically records the time of each pass, up to 99 times. After more than 99 times, the meter automatically clears. To ensure records, queries, and manual zeroing are necessary. Press the select key to select the Clear function. Then press the confirm key, and the digital tube will automatically exit after 00, and all internal records have been cleared.
Timing function
If you know or want to see if the time is accurate, press the select key to select the timing function. Press the Confirm key to enter the timing. At this time, the hour number shines, and the hour can be adjusted by adjusting the button (only increasing to 24 times zero). If the hour is displayed correctly, you can also press the Confirm key to skip to the minute adjustment. At this time, the number of minutes flashes; press the adjustment key to adjust the minutes (only increase, increase to 60, then return to zero). When you press the Confirm key to exit, the instrument automatically stores the set time.
No matter what function, after 3 seconds, without pressing the button, the instrument automatically exits all functions and enters the pig monitoring state.
Set Instrument Parameters (do not set them randomly here)
After all the lights are off, press the Select key. At this time, the Detection light will light up. Then press the Confirm key. The value appearing at this time is the initial magnetic field detection value, and the value automatically appearing later is the instrument alarm setting value. (The initial setting range of the instrument alarm setting value is “0-240” cycle setting. The smaller the value, the higher the reaction sensitivity, but the corresponding false alarm rate will increase. The higher the value, the less sensitive the instrument, but the anti-interference ability is improved.)
Factory Settings have been set according to pipe specifications and magnetic block size, do not adjust at will. If you need to adjust: at this time, continuously press the adjustment key (increase the value of one step every 4 times), and set the instrument alarm setting value to a certain value “(the value increases by 20 for each change. Return to 0 after 240 and continue to increase 20 per change). Finally, set the instrument alarm setting value to the predetermined value and press the “Confirm” button to end the operation.
Precautions for Installation and Use
1. Do not use heavy objects to hit the display window during installation. Do not use magnetic materials near the sensor.
2. The detected pig should have a magnetic. If there is no magnetic block, install the magnetic block in the accessories. The installation position should be careful not to collide with the pipeline. The magnetic block can be mounted in the middle of the pig skeleton.
3. Install the magnetic block on the pig with the magnetic block circle parallel to the sensor base. If space allows, place multiple magnetic blocks together on the pig (install more than two if the thickness is 5mm).
4. For large-specification pipelines, group several magnetic blocks together. For instance, use three pieces of glue with an 813 pipe.
5. To meet requirements, you can increase the meter head’s installation height between it and the sensor. Select and design the lengthening rod according to actual needs.
Note: Lengthening rod with required length according to technical requirements. The height of the extension rod can be adjusted between 500~N meters according to the needs of the site.
نتیجه
In conclusion, the EMT Non-intrusive Pig Signaler ensures reliable pipeline monitoring. Its installation is simple and adaptable to various pipes. The device is explosion-proof and precise in detecting pig passage. Users benefit from its remote signaling and memory capabilities. Follow the straightforward guidelines for optimal performance. This tool is essential for maintaining pipeline flow and integrity.


هنوز هیچ بررسی وجود ندارد.